Přejít na obsah stránky
Otevřít nastavení usnadnění
Stránka nepodporuje váš prohlížeč. Aktualizujte prosím svůj prohlížeč nebo si stáhněte jiný
Vyberte jazyk
Čeština
CZK
Podpora
Doručení
Vrácení peněz a záruka
Katalog
Nejvyhledávanější na online tržišti Ayzeze
Hledat
Přihlásit se
Moje objednávky
Košík
Dámská móda
Pánská móda
Domácí potřeby
Obuv
Sport a volný čas
Elektronika
Domácí spotřebiče
Pouzdra na chytré telefony
Krása
Zdraví
Pro děti
Automobily a motocykly
Koníčky a kreativita
Výstavba a rekonstrukce
Šperky a bižuterie
Chata a zahrada
Oslavy a svátky
Tašky a kufry
Hračky a hry
Hodinky
Chovatelské potřeby
Papírnictví
Vybrané smartphony
K-pop
Knihy
Xiaomi
Hledat
Vyprodáno
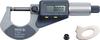
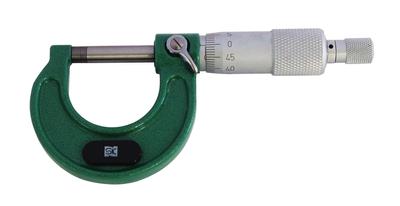
YT-72305 YATO Micrometer 0-25mm with Digital Display
Obchod
Super Merchant
Podobné produkty
Cena
2 466 Kč
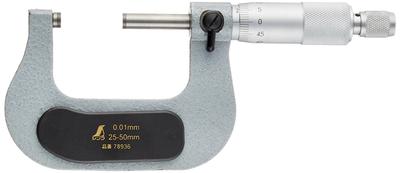
Mikrometr Shinwa Sokutei 78936 25~50mm
Cena
2 069 Kč
Mikrometr Shinwa Sokutei 78935 0~25
Cena
1 923 Kč
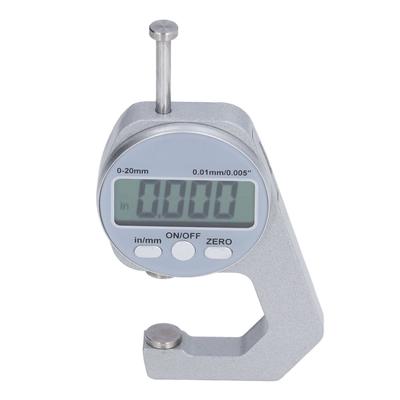
Elektronický mikroměr, Mikrometr, 0-20 mm, Digitální tloušťkoměr, Hliníkový měřič tloušťky, LCD displej
Cena
1 539 Kč
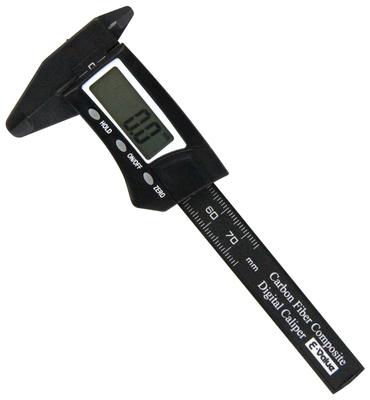
Mini digitální 75mm E-Value EDV-75 posuvné měřítko,
Cena
2 132 Kč
Niigata Seiki SK Standardní vnější mikrometr 0-25mm MCQ-25
Cena
1 129 Kč
Cena
1 359 Kč
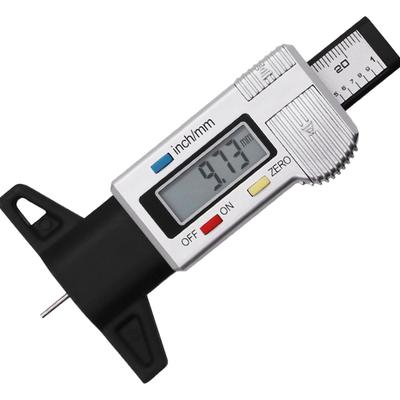
Digitální měřič hloubky dezénu pneumatik 0-25mm, Velký LCD displej, Odolný, Stabilní a spolehlivý,
Cena
1 150 Kč
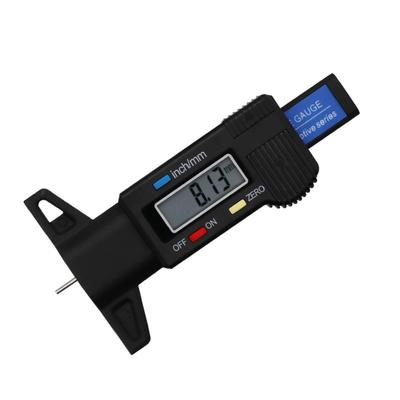
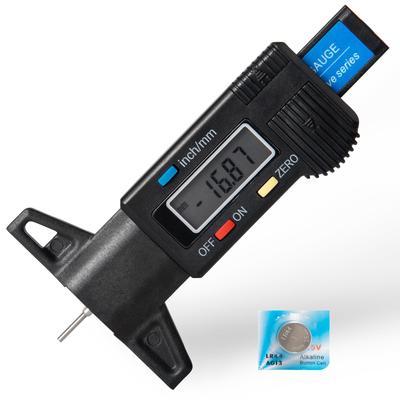
SCITOOLS Měřidlo hloubky dezénu pneumatik, Digitální, 0 - 25 mm, Náhradní součástí, Capital
Cena
1 859 Kč
Cena
2 257 Kč
Digitální posuvné měřítko Niigata Seiki SK 100 mm s hloubkovou lištou a čirým pevným pouzdrem součástí dodávky DN-100
Cena
1 341 Kč
Digitální posuvné měřítko s pouzdrem a funkcí nastavení nulového bodu pro přesné měření baterií Elektronické digitální Vnější Vnitřní Lehké Vysoké Vnitřní Vnější
Cena
1 789 Kč
Zobrazit další