Vlastnosti:
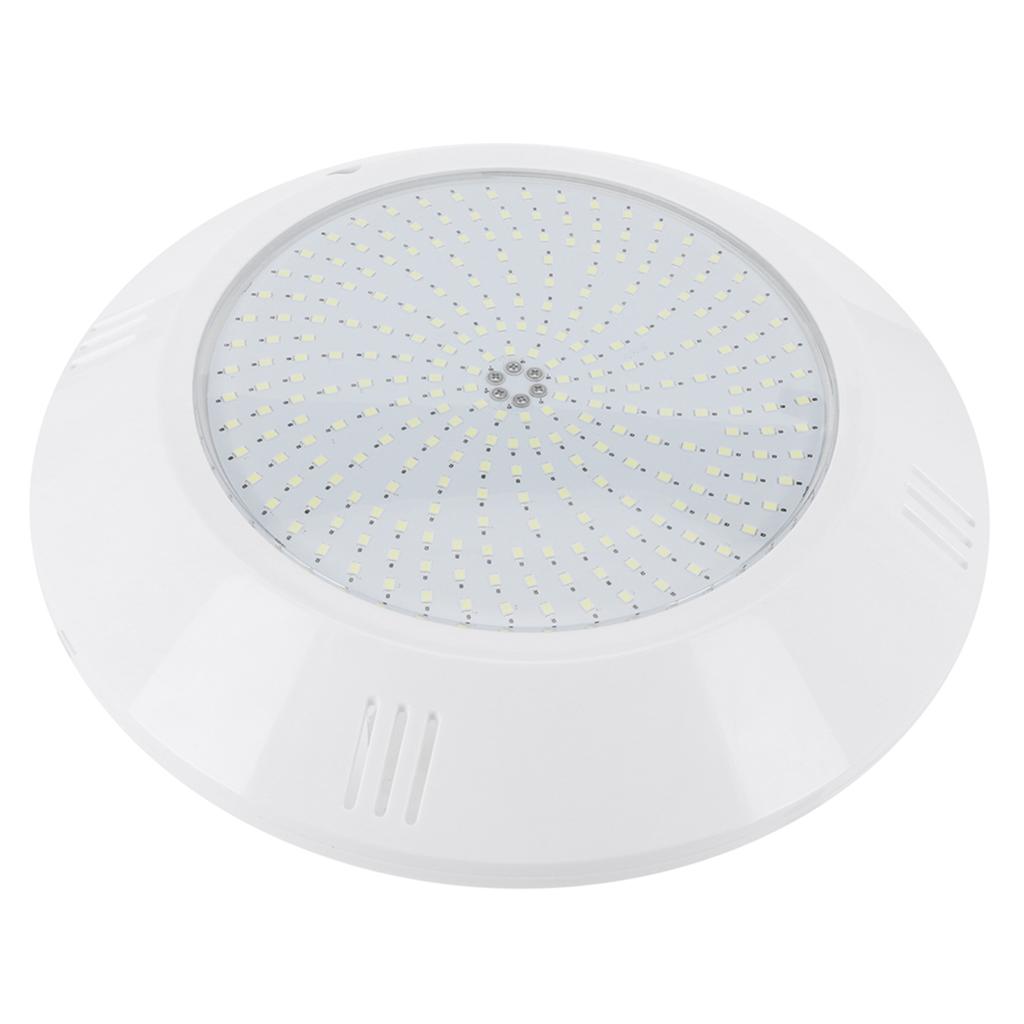
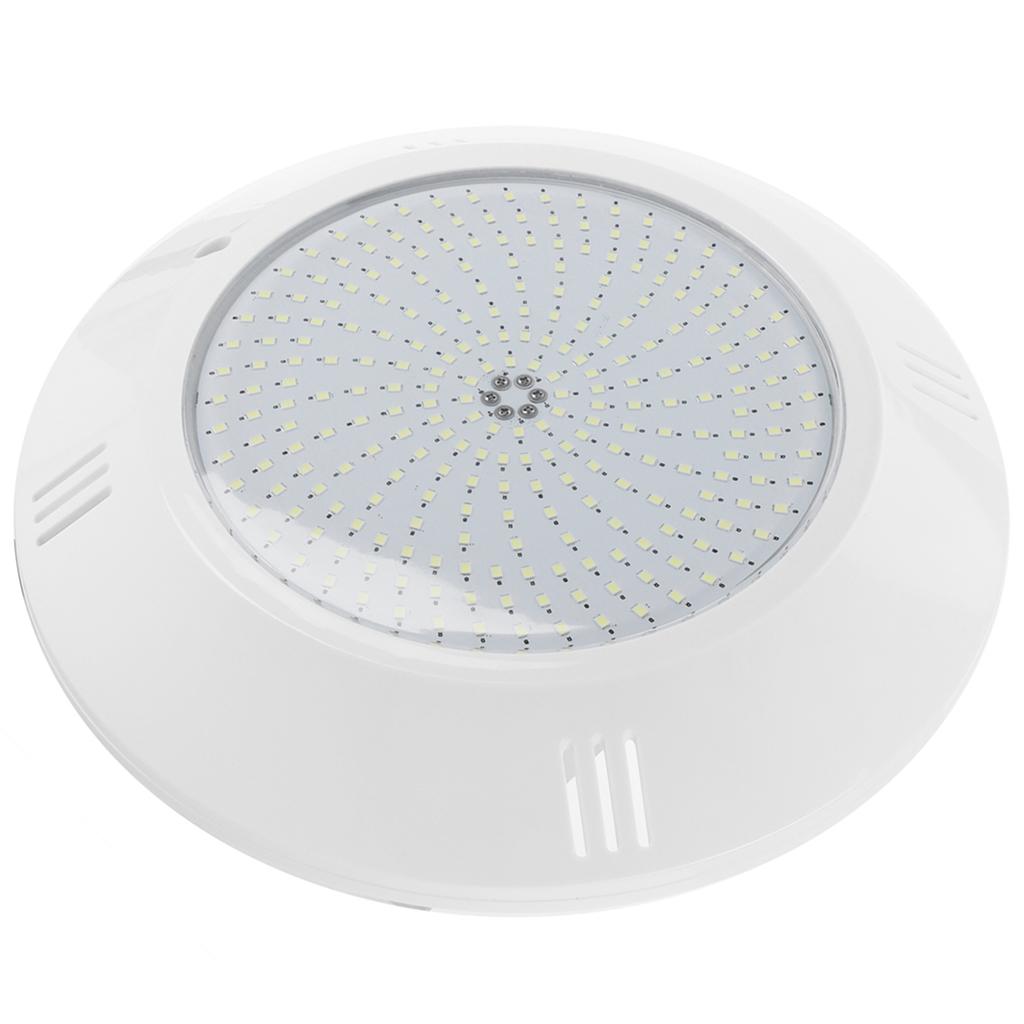
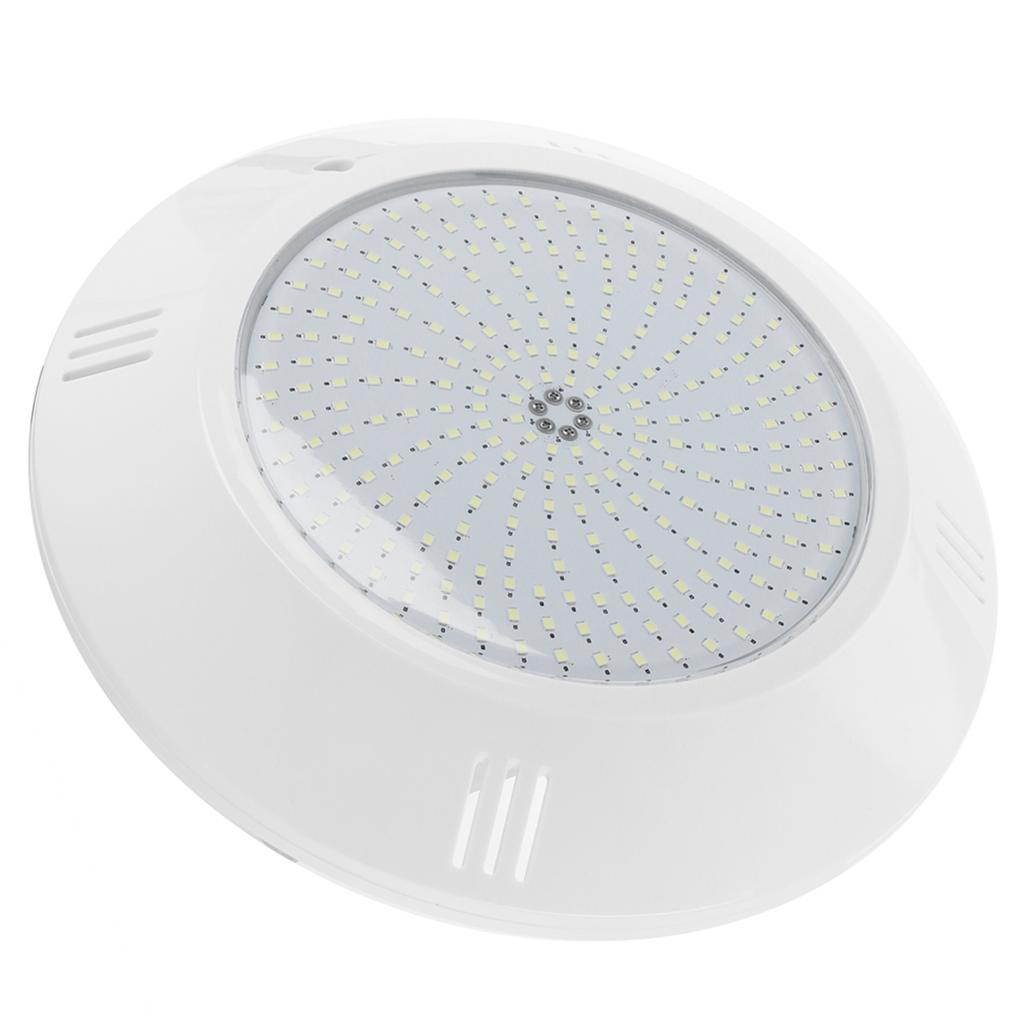
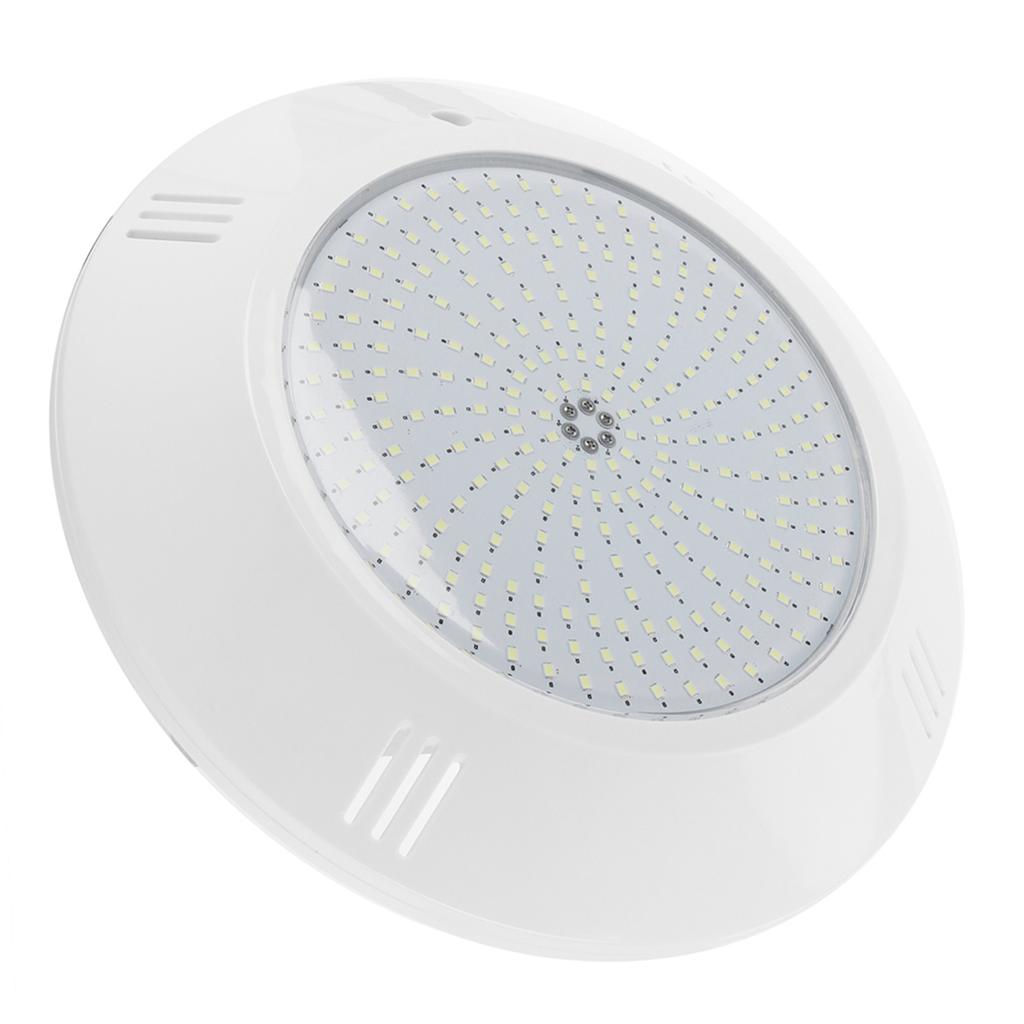
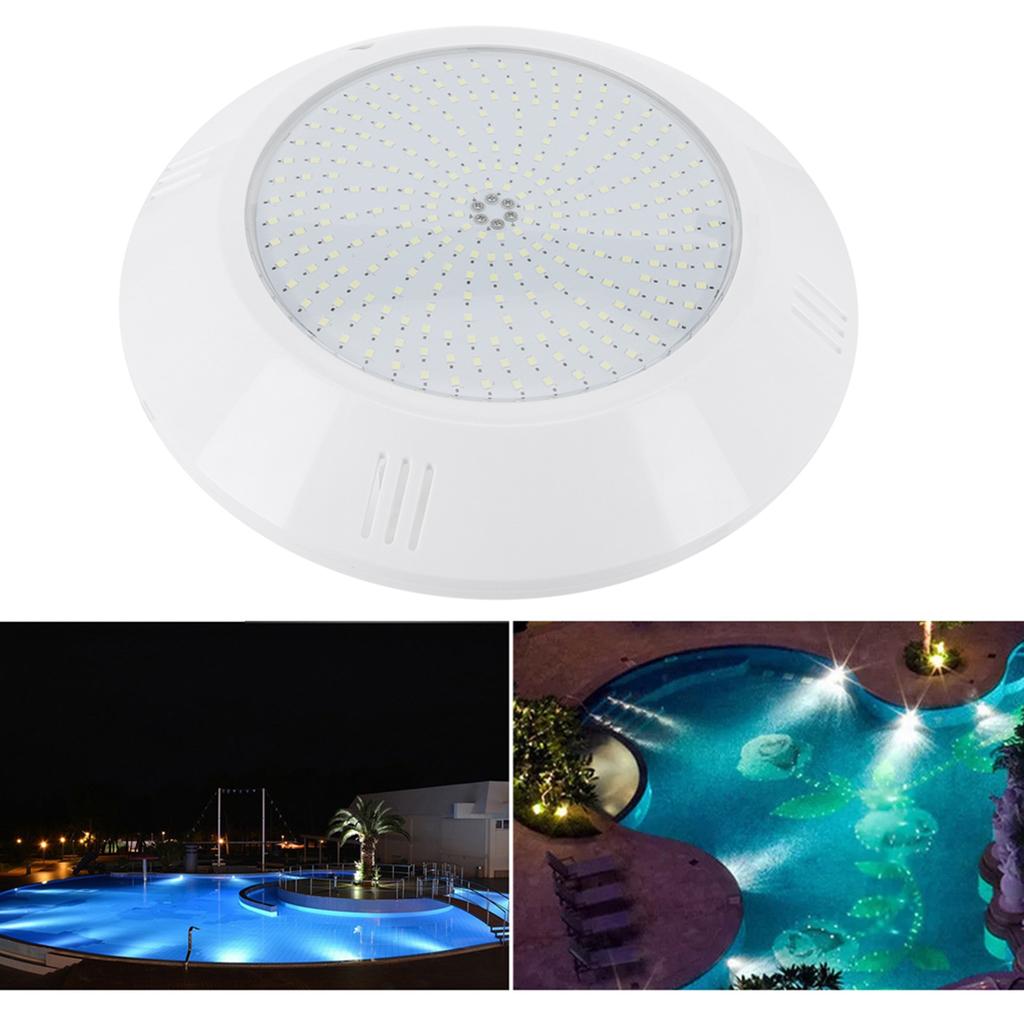
1. Používáte 252 vysoko?kvalitní LED diody 2835 SMD, rovnoměrné vyzařování světla, nízký pokles jasu, vysoká svítivost, úhel vyzařování 120 stupňů, široký rozsah osvětlení a dlouhá životnost.
2. Bezpečné pracovní napětí AC12V, bezpečné a spolehlivé, předchází nebezpečí úrazu elektrickým proudem, můžete bez obav používat (Pro instalaci je vyžadován 12V transformátor, není součástí balení).
3. Snadná instalace, vybavena standardním příslušenstvím a návodem k bazénovému světlu, snadná obsluha a snadná výměna. Ultra?vysoké řemeslné zpracování, vnitřek těla lampy je vyplněn plně uzavřenou pryskyřicí, která je vodní?důkaz.
4. Tělo lampy je vyrobeno z vysoce?kvalitní materiál PC+ABS+ pryskyřice, který snadno nenavlhne a nekoroduje. Stále je vhodný ke koupání na pláži. S přídavkem IP68 ultra?vysoká úroveň voděodolnosti a technologie, nebojí se úniku vody a je bezpečné k použití
5. Je široce používán ve dvorních bazénech, bazénech, podvodní světelné dekoraci, krajinném osvětlení, zahradním osvětlení, zahradním inženýrském designu, na veřejných fontánových náměstích, ve veřejných nebo soukromých bazénech a v dalších oblastech.
Specifikace:
Typ položky: Podvodní světlo
Materiál pláště: PC+ABS+Pryskyřice
Průměr: Cca. 26,2 cm / 10,3 palce
Výška: Cca. 4,3 cm / 1,7 palce Délka kabelu: Cca. 180cm / 70.9inHmotnost: Cca. 1176 g / 41,5 oz
Proces: Vnitřek těla lampy je vyplněn vysoce odolnou a plně uzavřenou pryskyřicí, která je vodotěsná.
Napětí: AC 12V
Napájení: 18W
Světlá barva: Bílé světlo
Teplota barvy: 6000 tis
Lampové korálky: 2835 SMD Lampové korálky
Počet korálků lampy: 252led
Světelný tok: 2500 LM
Úhel paprsku: 120 stupňů astigmatismu
Životnost LED: 50 000 h
Hodnocení voděodolnosti: IP68
Poznámky k instalaci:
1. Vyvrtejte 5 otvorů (čtyři otvory pro šrouby, jeden otvor pro drát) na stěně bazénu a namontujte upevňovací držák na stěnu bazénu 4 dlouhými šrouby a 4 hmoždinkami.2. Protáhněte 180CM napájecí kabel skrz otvor pro kabel ve zdi, abyste usnadnili následné připojení k napájecímu zdroji.3. Pomocí krátkých šroubů připevněte lampu k držáku skrz otvory pro šrouby na povrchu.
produktu (Oblast kolem upevňovacího držáku musí být rovná a lícovat se vzhledem upevňovacího držáku, což zajišťuje, že nevznikne žádná trhlina.
mezi lampou a zdí. 4. Odpojte celkový proud, ujistěte se, že povrch
je nainstalován na místě, připojte napájecí kabel k výstupnímu vedení transformátoru AC12V a druhý konec transformátoru připojte k výstupnímu napájecímu zdroji5. Zapněte napájení, zapněte světla a dokončete instalaci
.
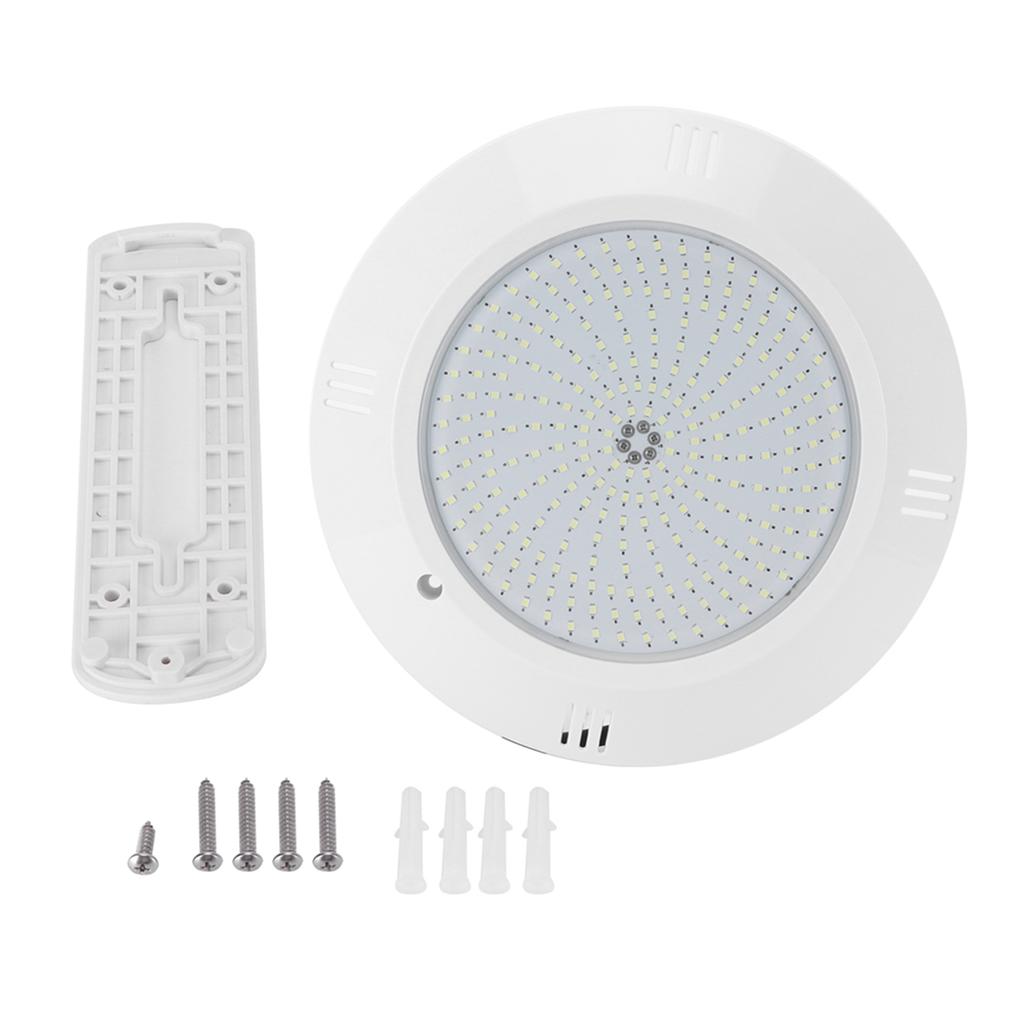
Seznam balíků:
1 x Lampa1 x Držák lampy4 x Dlouhý šroub1 x Krátký šroub4 x Rozpěrná hmoždinka1 x Manuál
Poznámka:
Pro instalaci je potřeba 12V transformátor, není součástí balení


 Vrácení peněz při nedoručení


